Event entry V2: Creating an event - Invited classes

Mat IT Manager
Last Update a year ago
Scroll down to Related Articles to go to the previous step
(Regulations and Forms)
This section is where you specify which classes of vehicles are invited to participate in your event.
You have two options:
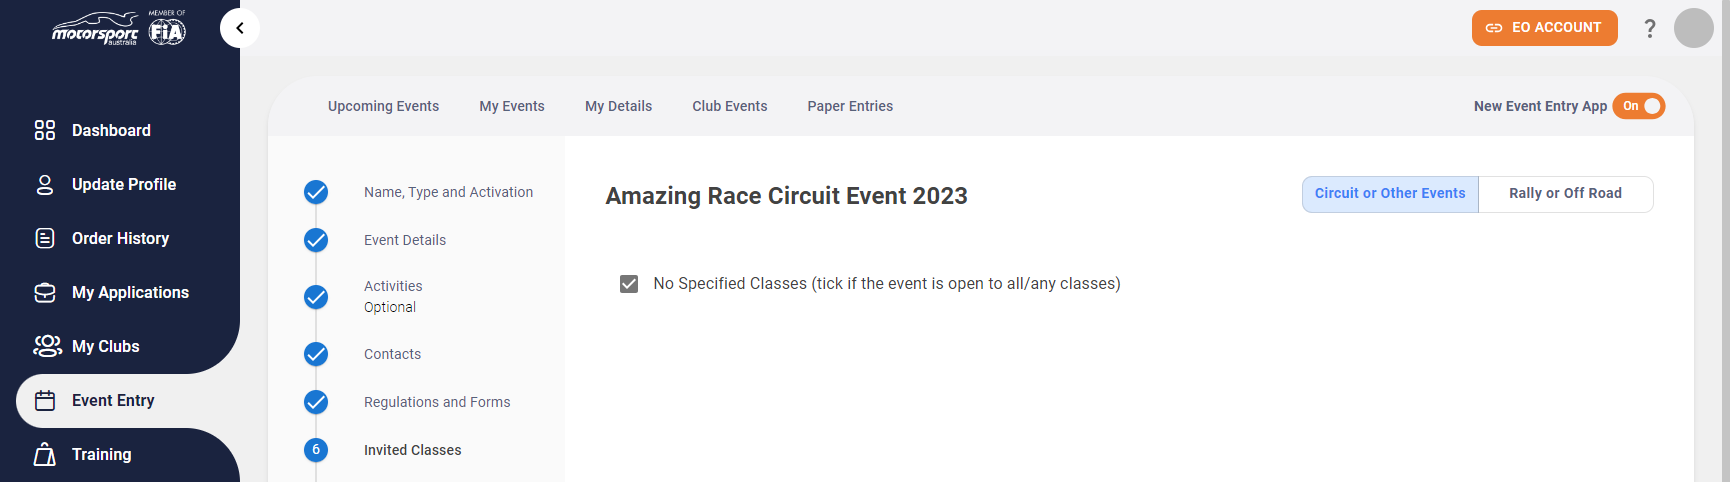
Option 1: No Specified Classes
1. If your event is open to all/any classes of vehicles, simply tick the checkbox labeled No Specified Classes (tick if the event is open to all/any classes). This indicates that there are no restrictions on the type of vehicles that can participate in your event.
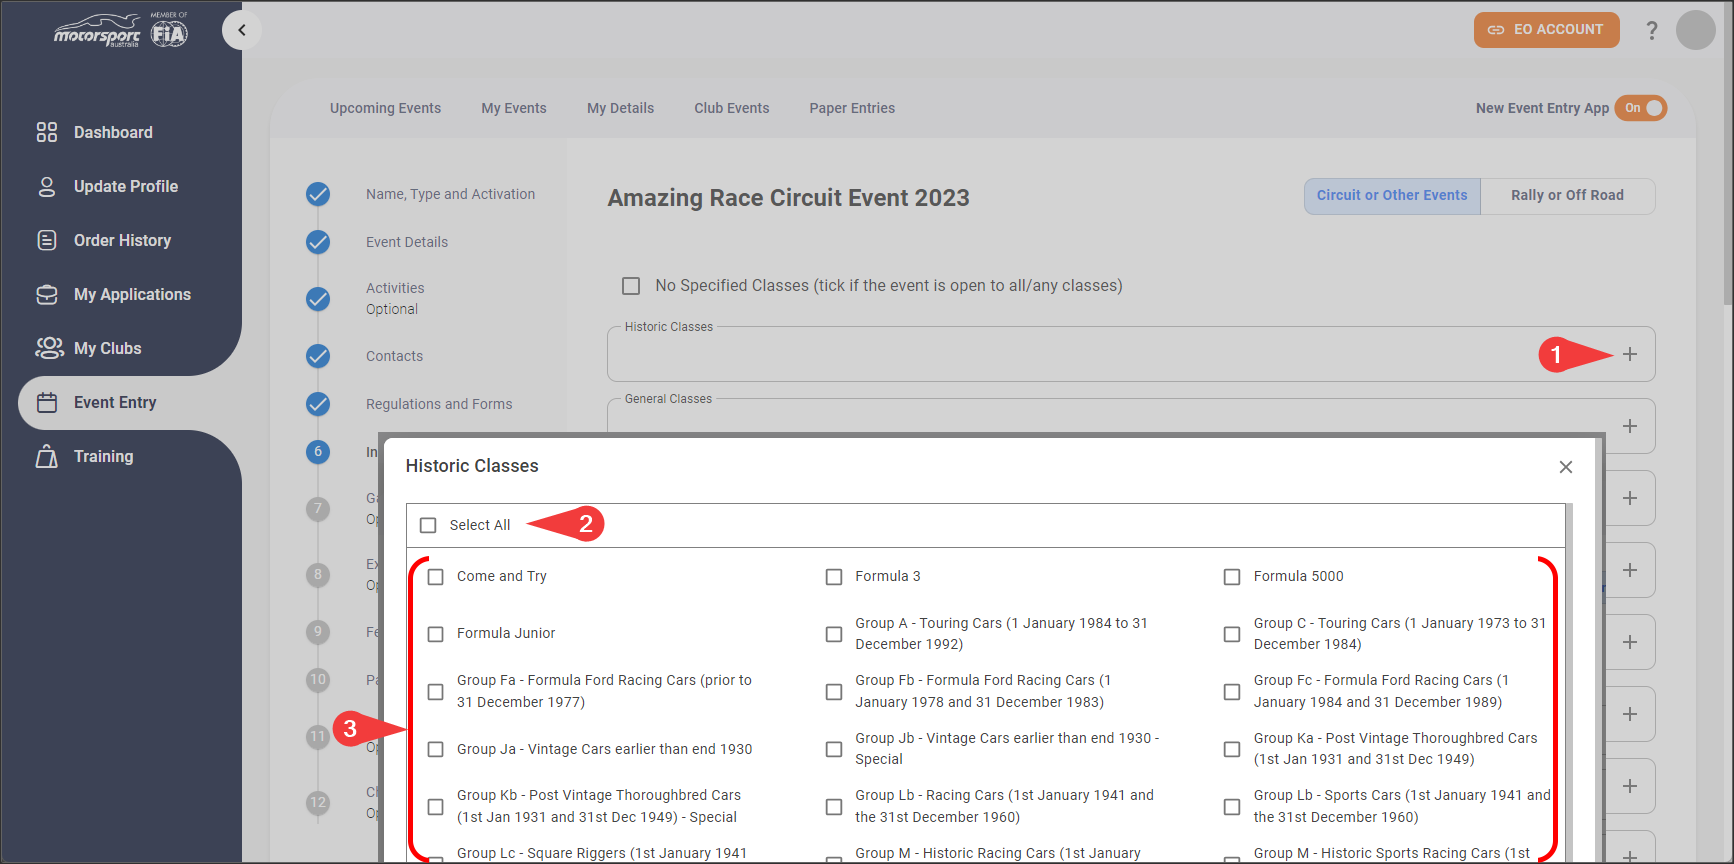
Option 2: Specify Invited Classes
If your event is only open to certain classes of vehicles, you can specify these classes in this section.
1. To do this, Click the + to the right to expand the class title.
2. Within each class, there are various sub-classes. If you wish to include all sub-classes within a particular class, simply click the Select All option.
3. If you wish to only invite particular sub-classes to your event then tick the appropriate checkbox(es) of the sub-class(es).
Repeat this process for each class you wish to invite to your event.
After completing this step, proceed to the next section of the form: Fees. We will guide you on how to complete this in the next part of this guide.
Scroll down to Related Articles to go to the next step
(Garaging and transponders)